Skip to content
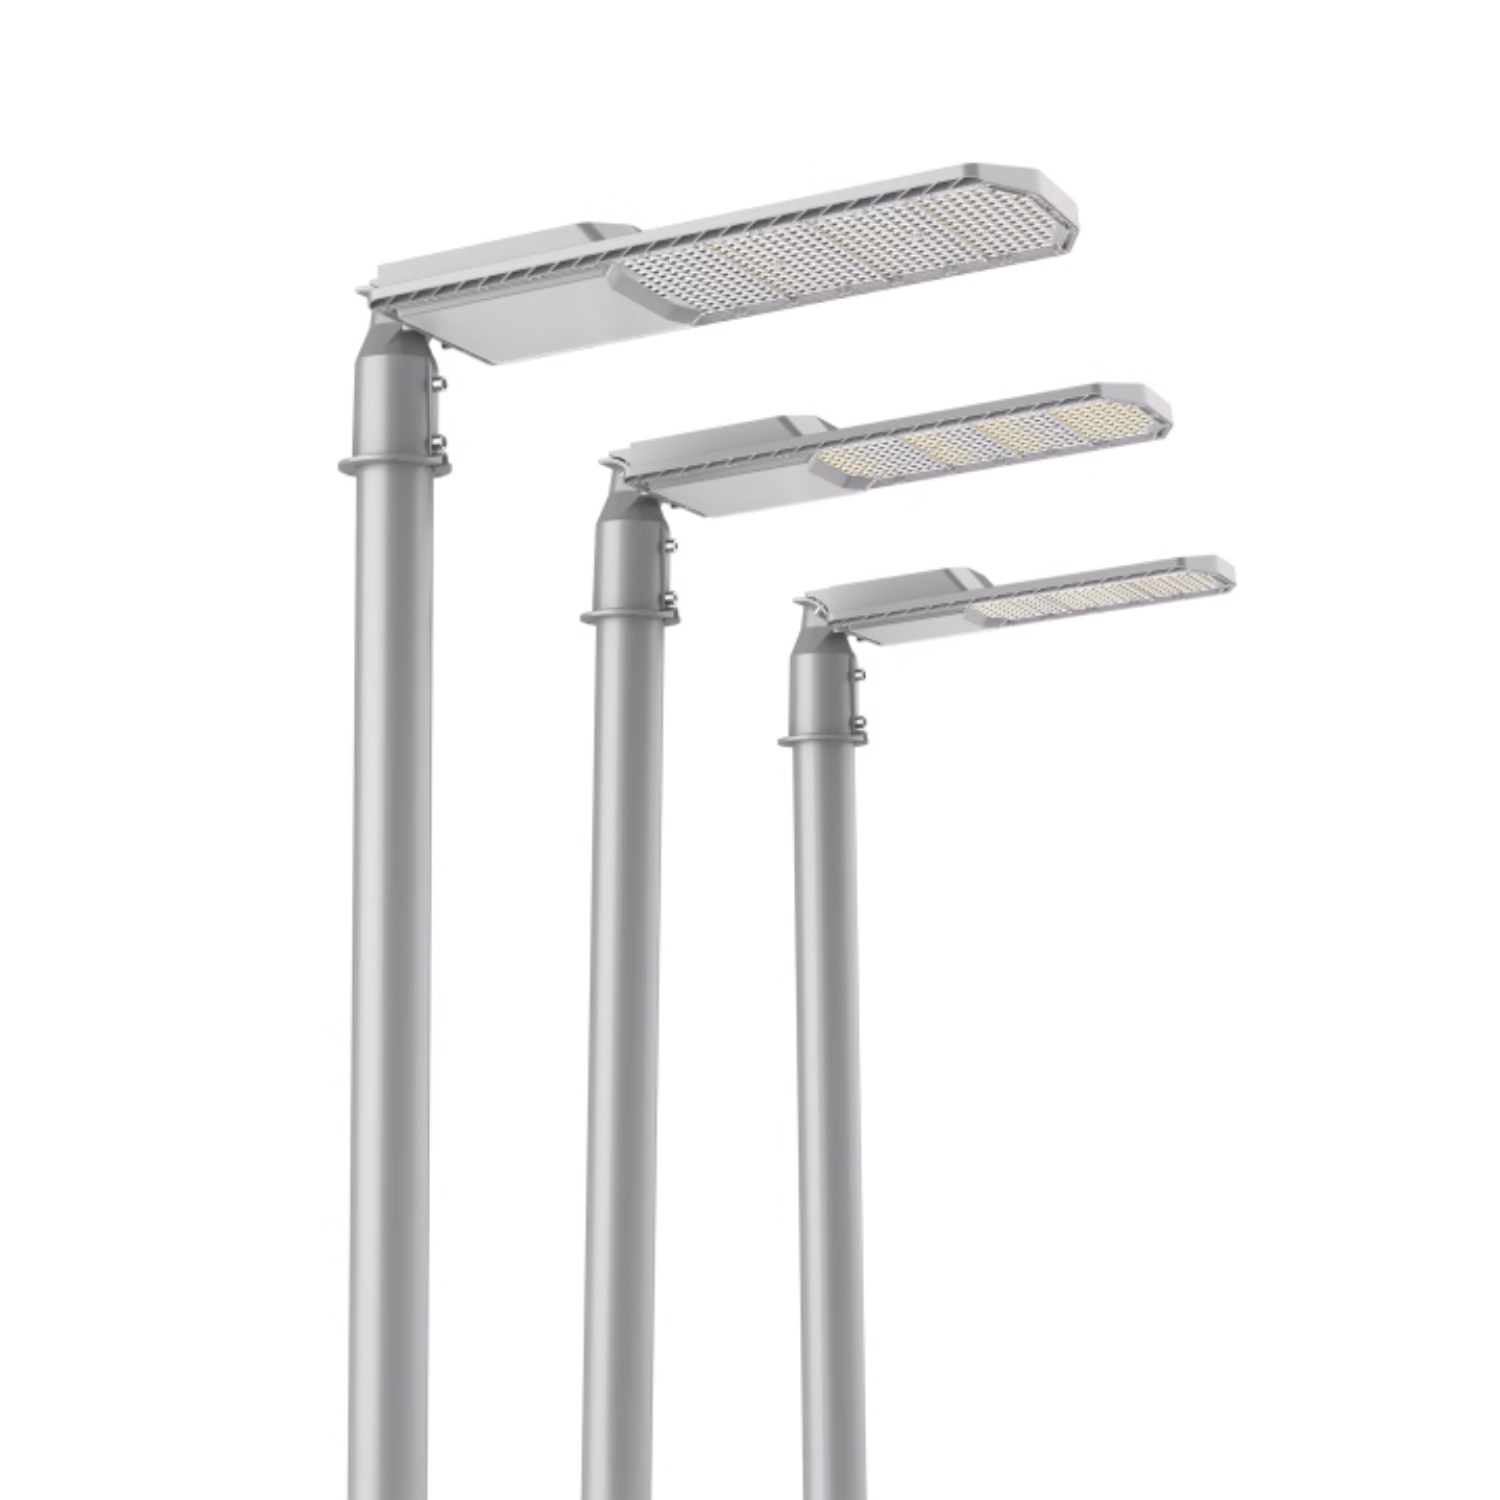
What is light distribution type I / type II / type III / type IV / type V?
Lighting design is confusing when you do not understand light distribution patterns. Wrong choices often waste energy and create safety issues.
The five IES light distribution types define how luminaires spread light: Type I is narrow, Type II is wider, Type III covers larger areas, Type IV pushes light forward, and Type V is uniform in all directions.
Each type serves a specific purpose. Once you know them, you can make better choices for your projects.
🤔 When should I choose?
Lighting projects fail when fixtures are chosen without considering the application. Bad distribution leads to dark spots or wasted light.
You should choose the right IES distribution type1 based on the width of the area, fixture location, and the need for uniform coverage or directional light.
Narrow vs. wide spaces
Type I works best for walkways or paths where light must cover both directions in a narrow corridor. Type II is good for alleys or narrow roads.
Side-mounted vs. center-mounted
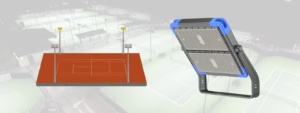
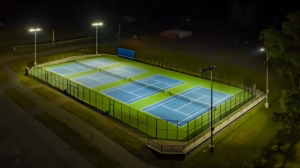
Type III and IV are best for side-mounted fixtures. They project light outward and are often used for parking lots or building edges. Type V is ideal for central positions because it spreads light equally in all directions.
Recommended use cases
| Type | Best Application | Fixture Position | Light Shape |
|---|---|---|---|
| I | Walkways, sidewalks | Center | Narrow, two-way |
| II | Narrow streets, alleys | Side | Wider, asymmetric |
| III | Roadways, parking lots | Side | Wide, asymmetric |
| IV | Perimeters, building edges | Side | Forward, semi-circle |
| V | Open areas, intersections | Center | Round, uniform |
✔ From my experience, many clients request Type III for outdoor areas, but in reality Type IV often provides better coverage for perimeters. Misunderstanding this leads to uneven lighting.
📏 How mounting height affects each IES light distribution type?
People often focus only on distribution type but ignore mounting height. Wrong height creates glare or dark spots.
Mounting height directly affects beam spread, intensity, and coverage of each IES distribution type. Higher poles give wider coverage but reduce intensity, while lower poles increase brightness but limit spread.
Low mounting (3–6 meters)
At this range, Type I and II work well because light stays focused on narrow paths. But if you use Type V at this height, the area outside the fixture looks too bright compared to the far edges.
Medium mounting (7–12 meters)
This is common for Type III and IV. The height balances wide coverage with good brightness. Parking lots and street edges benefit most.
High mounting (12–20+ meters)
Type V is often used at this level. Stadiums, airports, or big intersections need uniform circular distribution from tall poles.
Mounting height vs. performance
| Height Range | Best Types | Effect on Lighting |
|---|---|---|
| 3–6 m | I, II | Focused, bright, limited spread |
| 7–12 m | III, IV | Balanced coverage, reduced glare |
| 12–20+ m | V | Wide uniform coverage, less intensity |
✔ From my side, l often advise customers not to install Type ll fixtures at very high mounting heights.When these fixtures are placed too high, the light spreads too far, and a large portion falls outside the intended area. This creates wasted light, uneven brightness, and dark spots within the target zone, Keeping the correct height ensures that the lighting remains efficient, focused, and cost-effective.
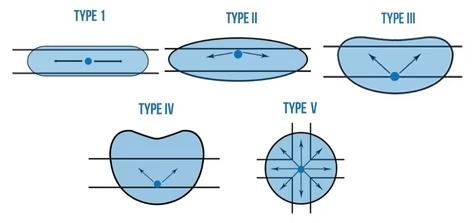
📊 Show photometric diagrams for Type I through Type V distributions?
Most buyers struggle to read photometric diagrams. But they are key to understanding how light spreads.
Photometric diagrams for IES types show beam shape and intensity. Type I is narrow and linear, Type II is slightly wider, Type III is asymmetric wide, Type IV is forward semi-circular, and Type V is circular and uniform.
Understanding diagrams
Each diagram shows light intensity using curves. The tighter the curve, the more focused the light. The wider the curve, the broader the coverage.
Type I & II
Type I looks like two opposite beams. Type II has a wider curve on one side, perfect for alleys.
Type III & IV
Type III spreads light outward in a wider asymmetric shape. Type IV throws light forward, looking like a half-circle on the diagram.
Type V
This shows as a perfect round curve, equal in all directions. It is best for central mounting.
Photometric pattern notes
| Type | Diagram Shape | Key Feature |
|---|---|---|
| I | Two lines forward | Narrow path lighting |
| II | Asymmetric oval | Side of narrow streets |
| III | Wide asymmetric | Larger coverage |
| IV | Semi-circle forward | Perimeter lighting |
| V | Circular uniform | Central large areas |
✔ In my work, I noticed many clients look only at lumen numbers. But once I show them photometric diagrams, they realize why distribution type matters more than raw brightness.
✅ Conclusion
Choosing the right IES light distribution type depends on area width, fixture location, and mounting height.
-
IES distribution ↩